4.4.15.1. Place connections, Open connection dialog (SuCri3ShowSelectConnection)
On this page
4.4.15.1. Placing Connections
In this guide, you will learn how to professionally place connections using the SuCri Modul 3 plugin in AutoCAD Plant 3D or Advance Steel. The application enables efficient selection and placement based on various beam configurations and installation situations.
Prerequisites
- Software: AutoCAD Plant 3D or Advance Steel is installed.
- SuCri Plugin: Module 3 is properly loaded.
- Working Model: An active project with beams or structural elements is open.
Video Example
Step-by-Step Instructions
-
Call Command:
Enter
SUCRI_MODUL3_GELENK_PICKin the command line. The main application window will open. -
Identify Connection Type:
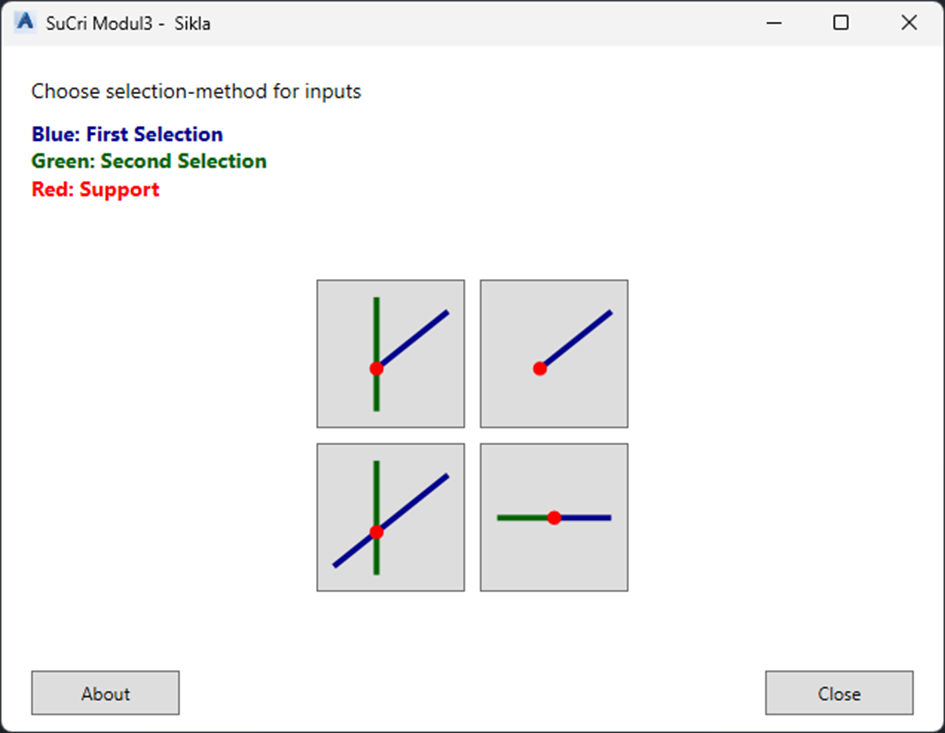
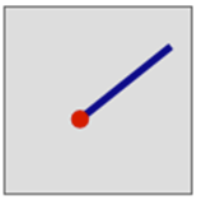
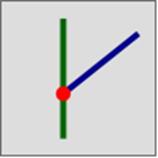
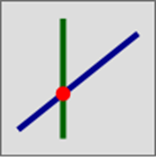
The connections are divided into four categories:
Free End Collision Crossing Joint -
Select Beams:
Click the appropriate button for your installation situation. The window will hide so you can select the beams in the model.
-
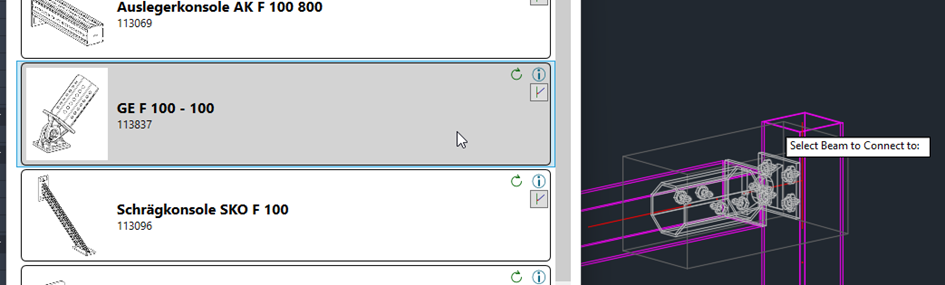
Choose Connection from List:
After selection, a list of available connections appears. Select the desired entry to execute the placement immediately.
-
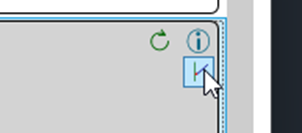
Optional Multiple Placement:
You can choose further installation situations for the same product directly by using the button within the selected connection.
Note: Input is performed in a loop. You can terminate this with the Esc key.
Important Notes
- Update: The connection can be updated via the circular arrow icon in case of catalog updates.
- Information: The Info Button opens the product page in the web browser.
- Navigation: The Back button takes you back to the main selection.
- Finalization: Exit the dialog via Close or the X in the header. The About button shows version and contact info.
Troubleshooting
- Window does not appear: Check the spelling of the command or whether the plugin was correctly loaded.
- No connections in the list: The beam selection may not match the chosen category (e.g., only one beam selected for "Crossing").
- Main window remains hidden: Check if you completed the selection in the CAD with Enter or if the window is in the background.