2.2.3. Module 3 (P3D), Installation guide
On this page
SuCri Module 3 (P3D), installation and configuration
In this guide you will learn how to correctly install Module 3 for AutoCAD Plant 3D. Using the dedicated installation program ensures that all necessary extensions and directories are set up automatically for smooth operation.
Prerequisites
- An active installation of AutoCAD Plant 3D on your system.
- The installation file for Module 3 (P3D).
- The required write permissions for the AppData directory of your Windows user profile.
Step-by-step guide
-
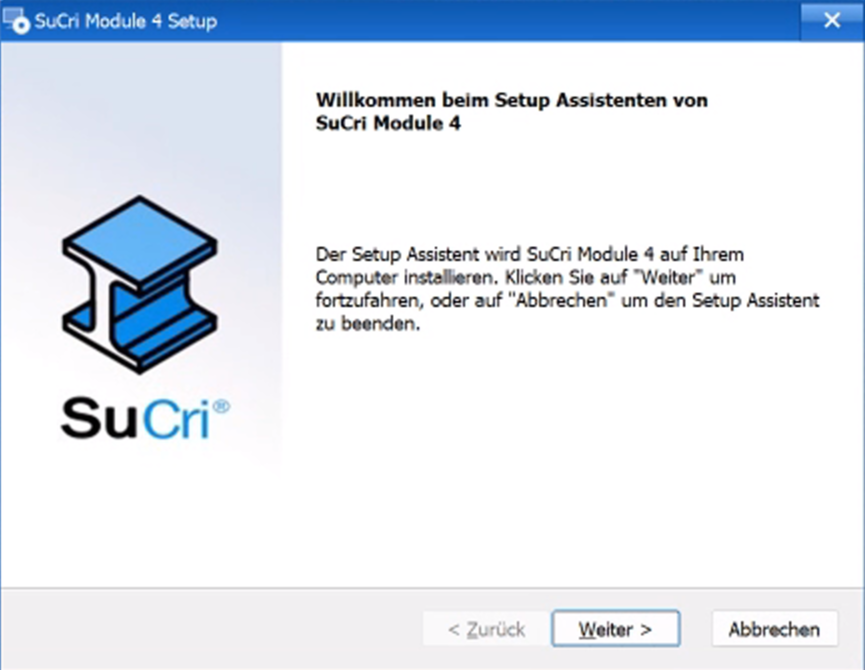
Start the installation by double-clicking the supplied installation program. Follow the initial on-screen instructions to begin the process.
-
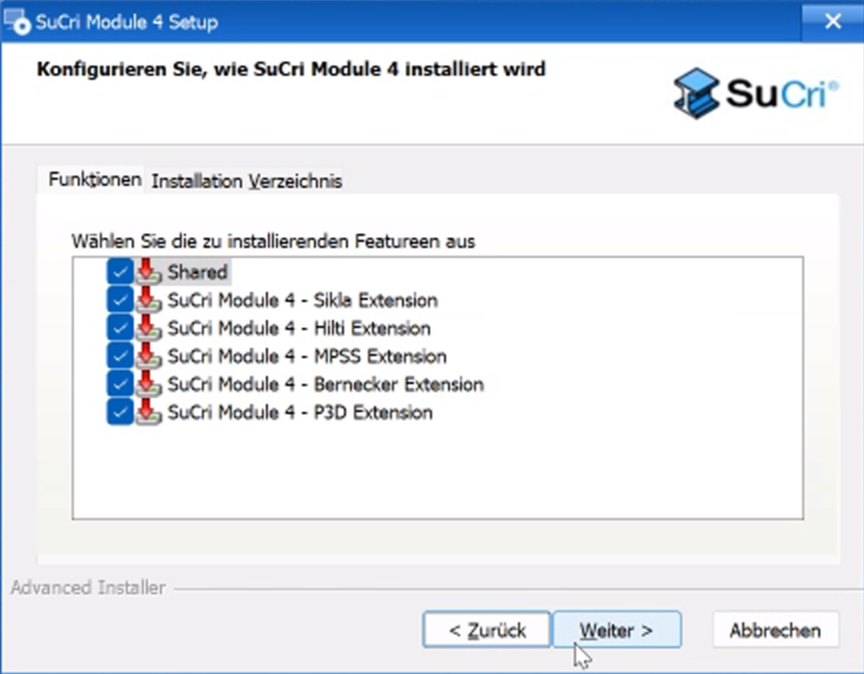
Select the extensions you want in the dialog that appears. Here you can individually adjust the desired range of functions by ticking the check boxes.
-
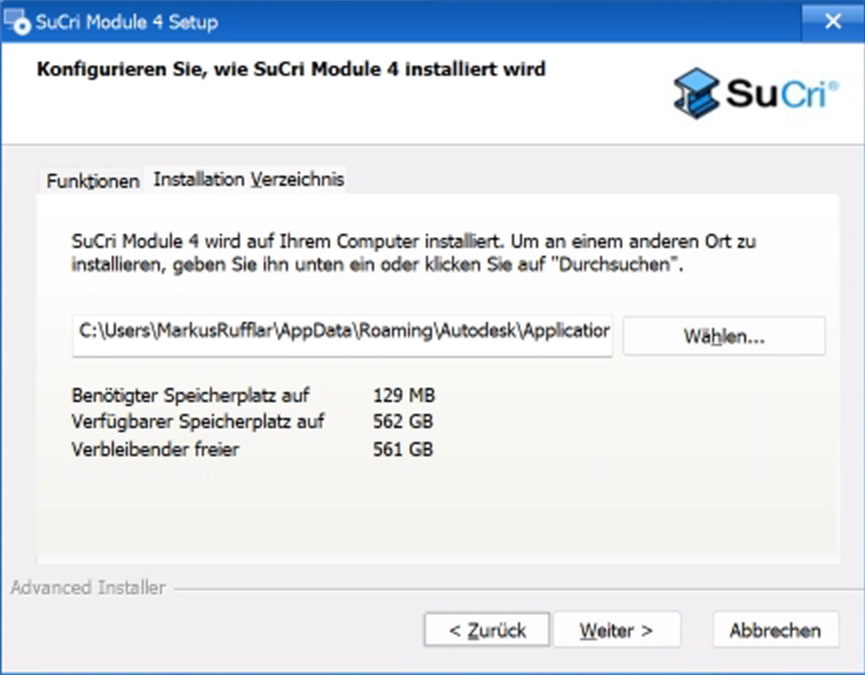
Confirm the installation path. Please note that the software bundle is stored by default in the APPDATA directory of the respective user.
-
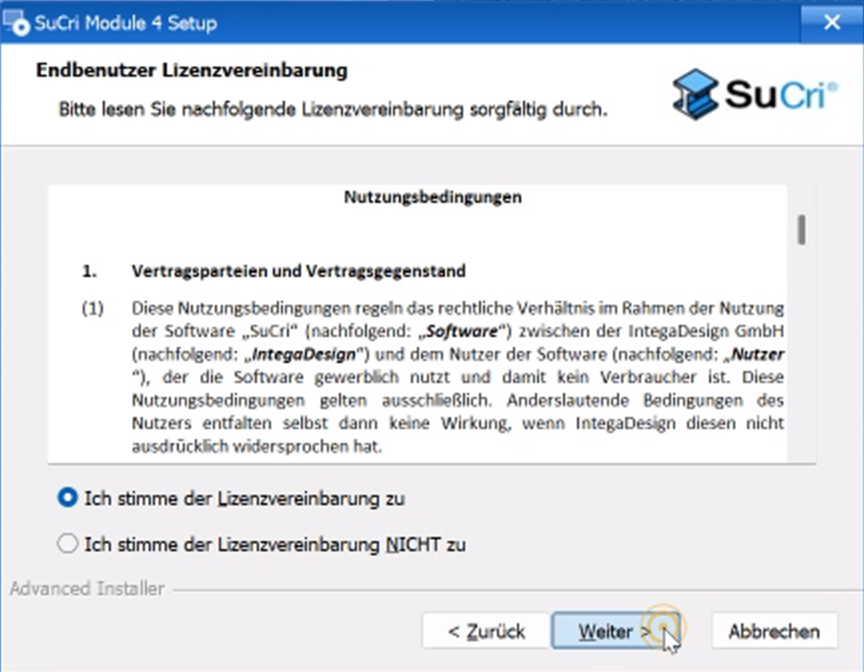
Read and accept the terms of use (End-User License Agreement) in order to continue with the installation process.
-
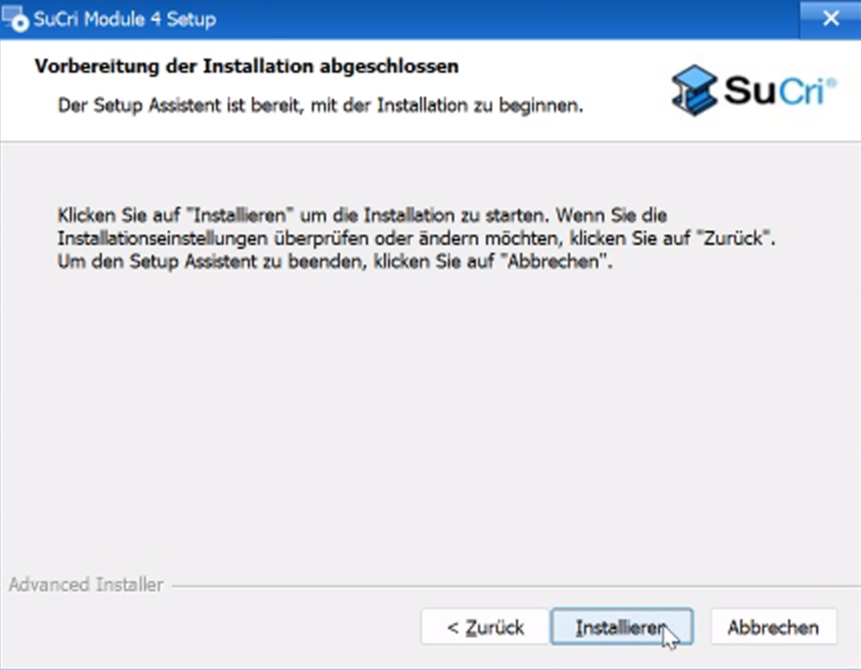
Click the corresponding button to start the actual installation. The files are now copied into the target directory.
-
As soon as the progress bar is complete, click Finish to successfully close the installation program.
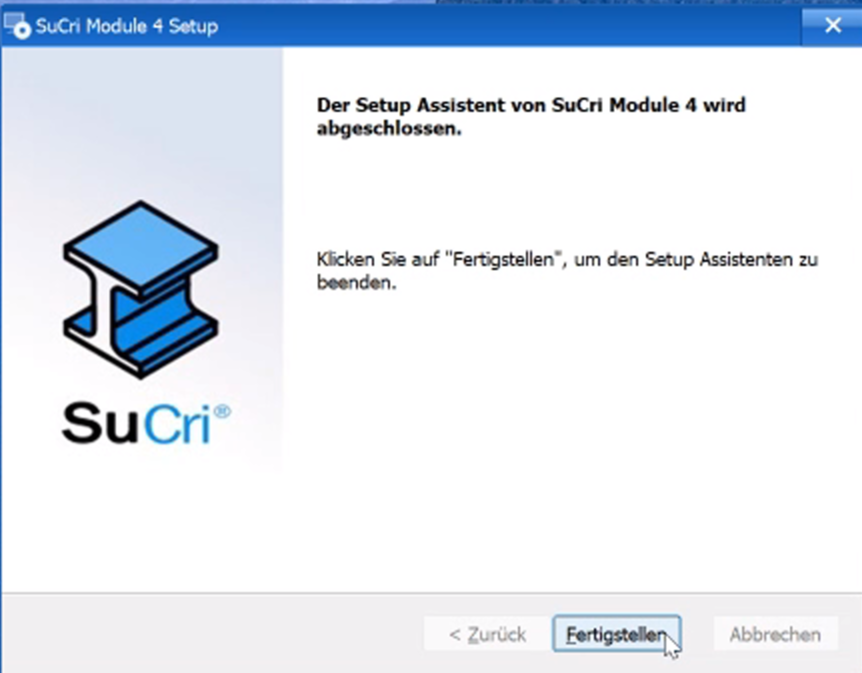
Result: Module 3 is now available to you directly after the next start of AutoCAD Plant 3D.
Important notes
- Installation directory: The bundle is automatically stored in the path
C:\Users\Username\AppData\Roaming\Autodesk\ApplicationPlugins. - Permissions: Make sure that no antivirus software blocks write access to the AppData directory during the installation.
- Updates: When updating the module, you should close all instances of AutoCAD Plant 3D beforehand.
Troubleshooting
- Module does not appear: Check whether the folder exists under the specified
ApplicationPluginspath. If not, run the installation again with administrator rights. - Extensions missing: If certain functions are missing, run the installer again and make sure that all required extensions are marked in the second step.