3.4. Module 3 (ADVS), The SuCri user interface
On this page
User interface of Module 3 (ADVS)
In this article you receive a detailed overview of the structural layout and the central functions of the user interface of Module 3 (ADVS). A clear structuring of your working environment enables efficient navigation and intuitive operation of the software.
Prerequisites
- Make sure that Module 3 (ADVS) is correctly installed.
- The software must be started in order to access the interface elements described.
Step-by-step guide
-
Grasp the structure of the interface
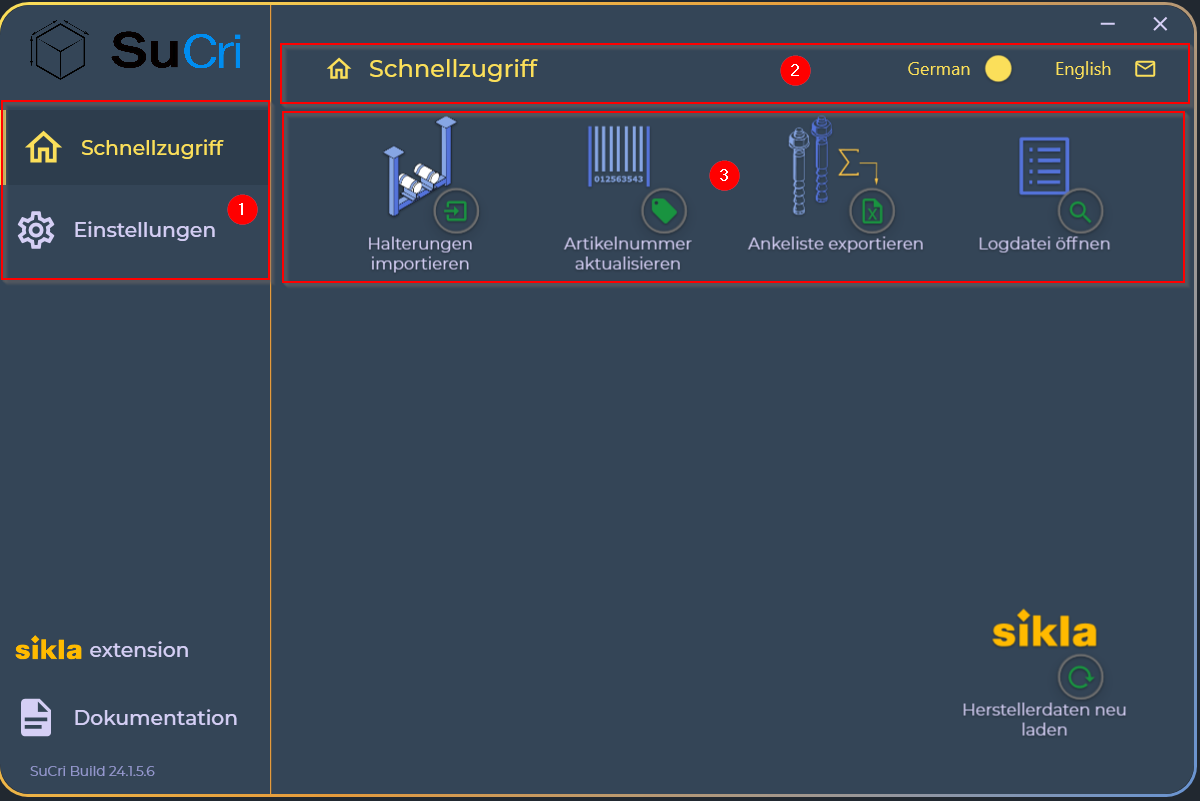
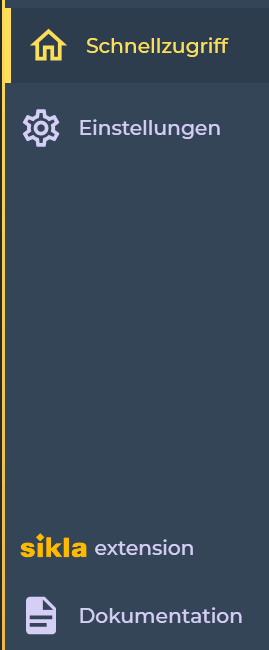
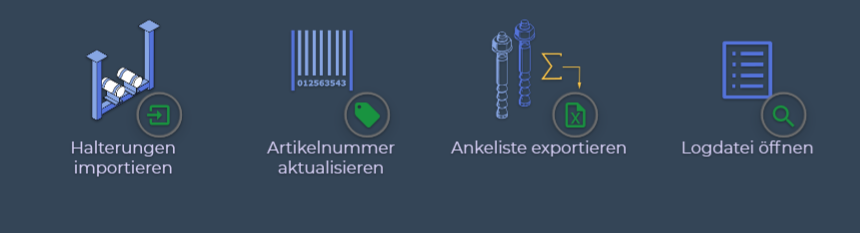
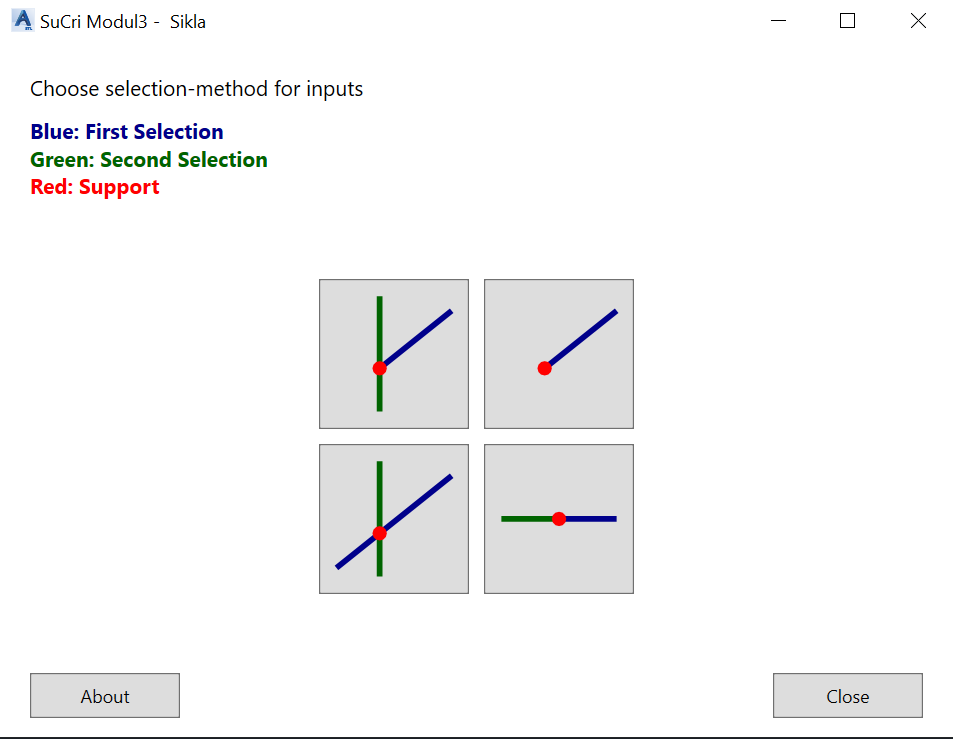
Familiarize yourself with the basic layout. The user interface is divided into four central areas: the navigation menu on the left side, the status bar at the top right, the command panel on the right side, as well as the Connections interface in the central main area.
Result: You have gained a visual overview of the entire working environment.
-
Operate the navigation menu
Click the various groups in the left bar to navigate between the function areas. The available commands in the command panel on the right side adapt dynamically to your current selection.
-
Use the status bar and support functions
In the top right corner you will find specific information about the active panel. There you can switch the language of the interface or send a direct support request to us via the email icon.
-
Run commands in the command panel
In the right area of the software, select the specific commands of the group that you previously activated by clicking in the navigation menu.
-
Place connections via the Connections interface
Use the central work area to precisely position the selected connections at the desired locations within your project.

Important notes
- Color coding: Note that each manufacturer uses its own interface color. The arrangement of the elements and the logical structure remain identical across manufacturers.
- Dynamics: Contents in the right command panel always depend on the active selection in the left navigation menu.
Troubleshooting
If no functions or icons are displayed in the command panel, please check whether an active group is actually marked in the navigation menu on the left side. When in doubt, click the desired group again.