2.2.5. Module 4, Installation guide
On this page
Module 4, installation and setup
This article describes the complete installation of Module 4 as well as the necessary configuration steps for project templates and bills of materials. A correct setup ensures that automatic derivations and quantity calculations can be carried out error-free in your CAD system.
Prerequisites
- An installed base system (e.g. Autodesk Plant 3D).
- The provided installation program for Module 4.
Step-by-step guide
-
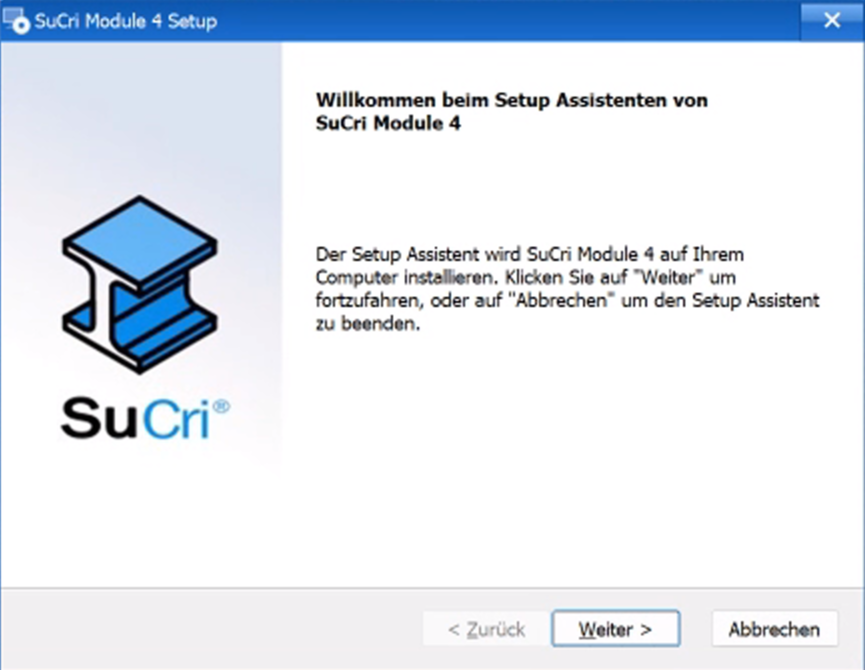
Start installation
Start the supplied installation program and follow the instructions on the screen.
The program prepares the components for setup.
-
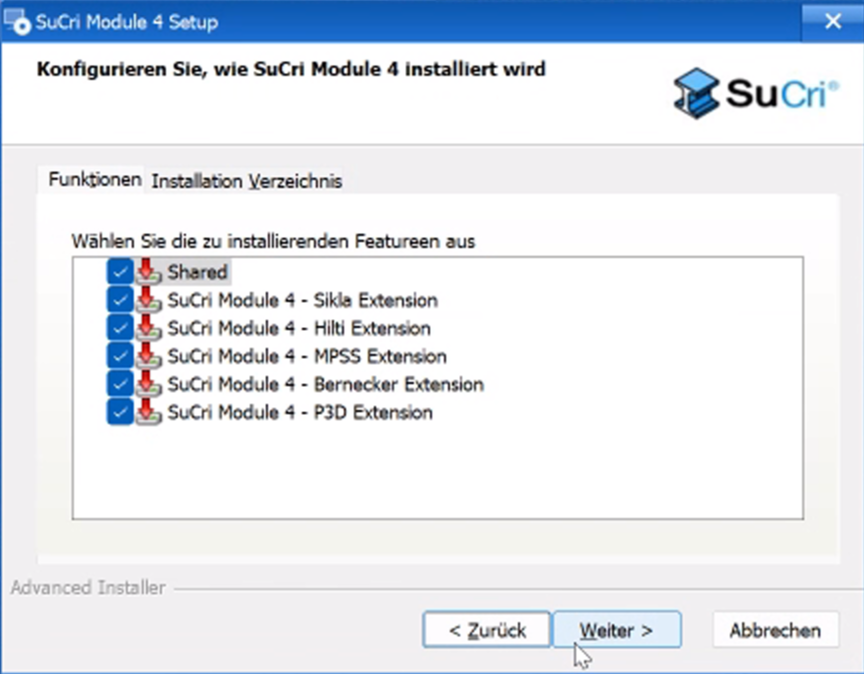
Select extensions
Select your desired extensions in the dialog in order to customize the range of functions individually.
-
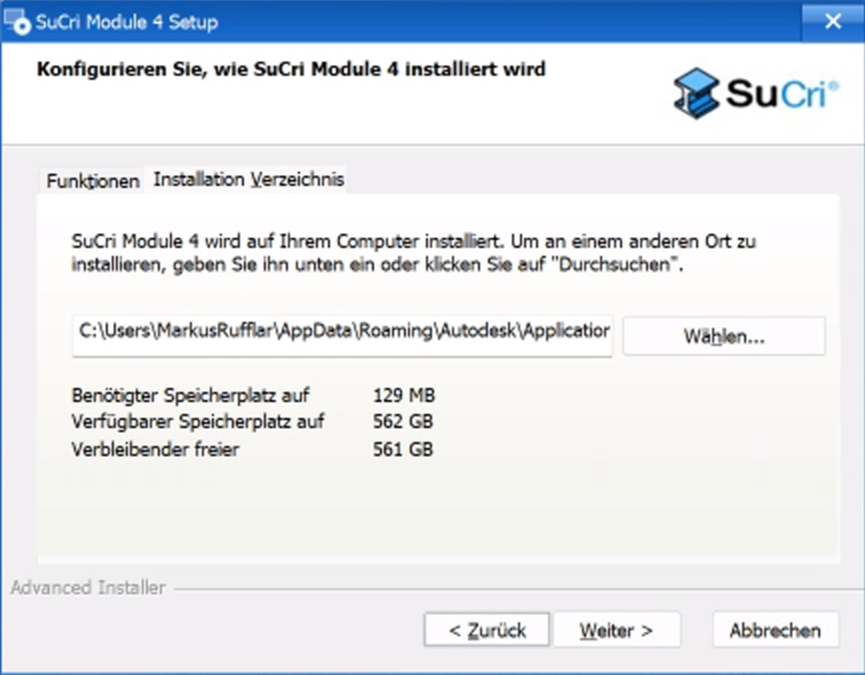
Confirm installation path
By default, the program package is installed automatically in the
AppDatadirectory of your user profile. -
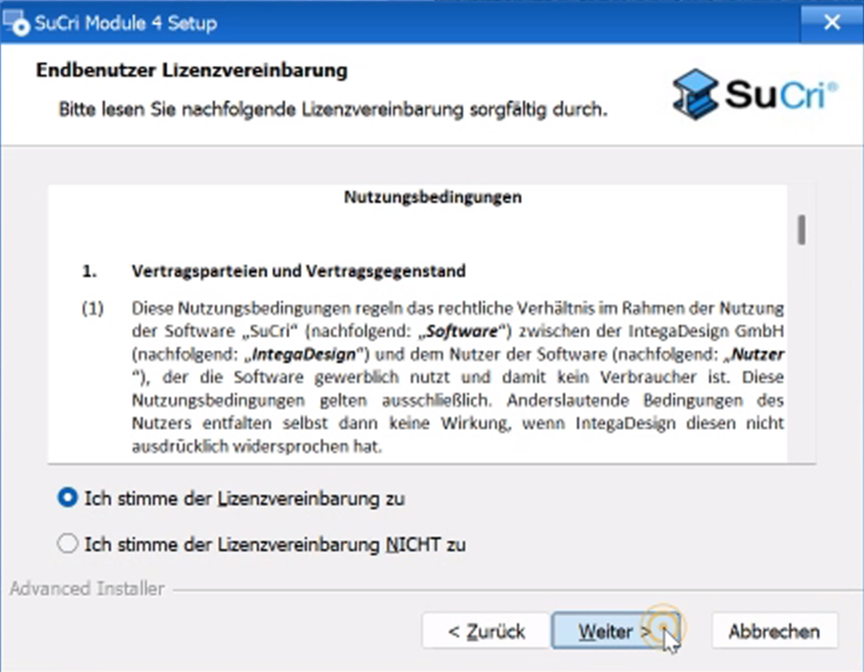
Accept terms of use
Read and accept the terms of use in order to continue the process.
-
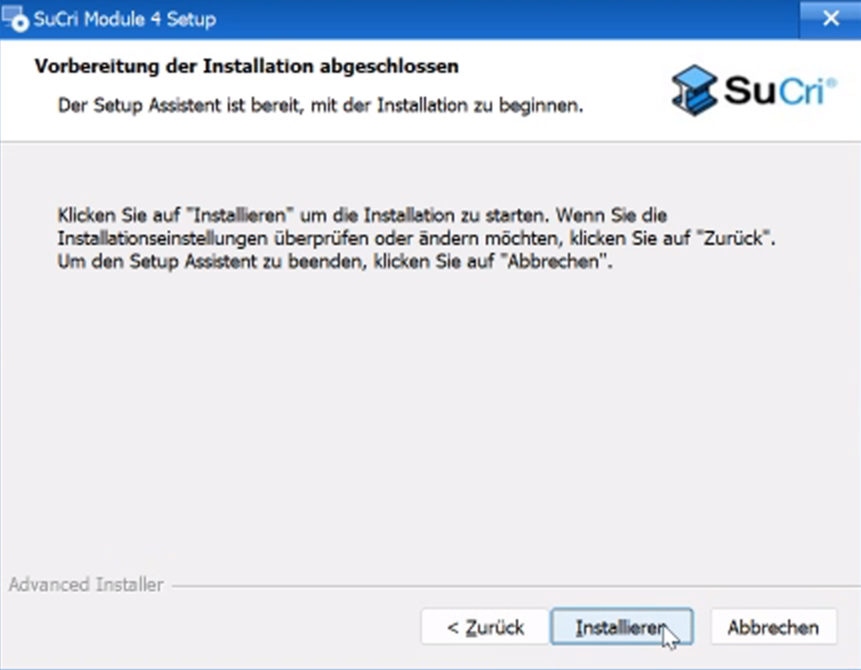
Complete the process
Start the actual installation process by clicking the corresponding button.
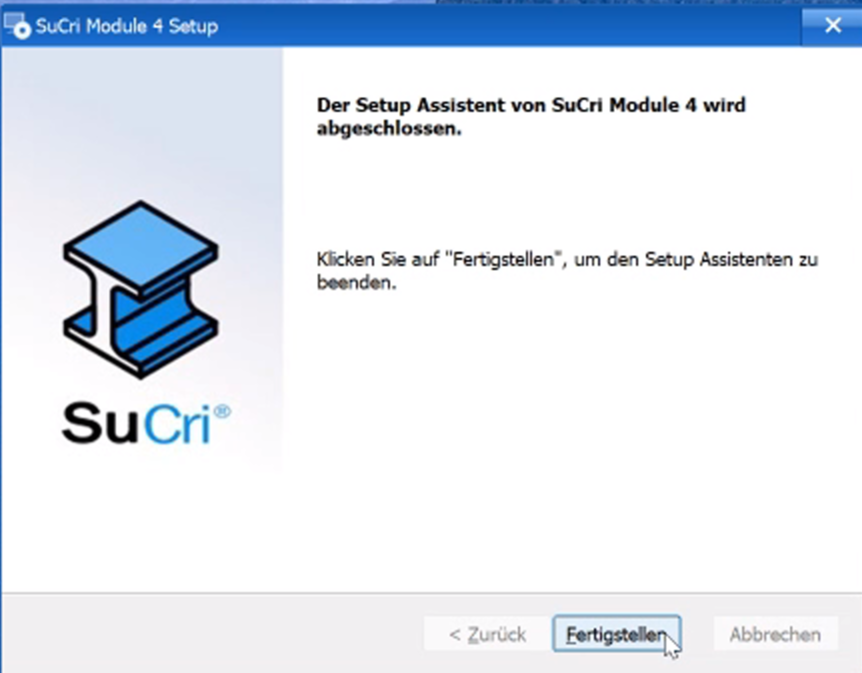
Once finished, click Finish. The bundle has been successfully placed in the path
C:\Users\Username\AppData\Roaming\Autodesk\ApplicationPlugins. -
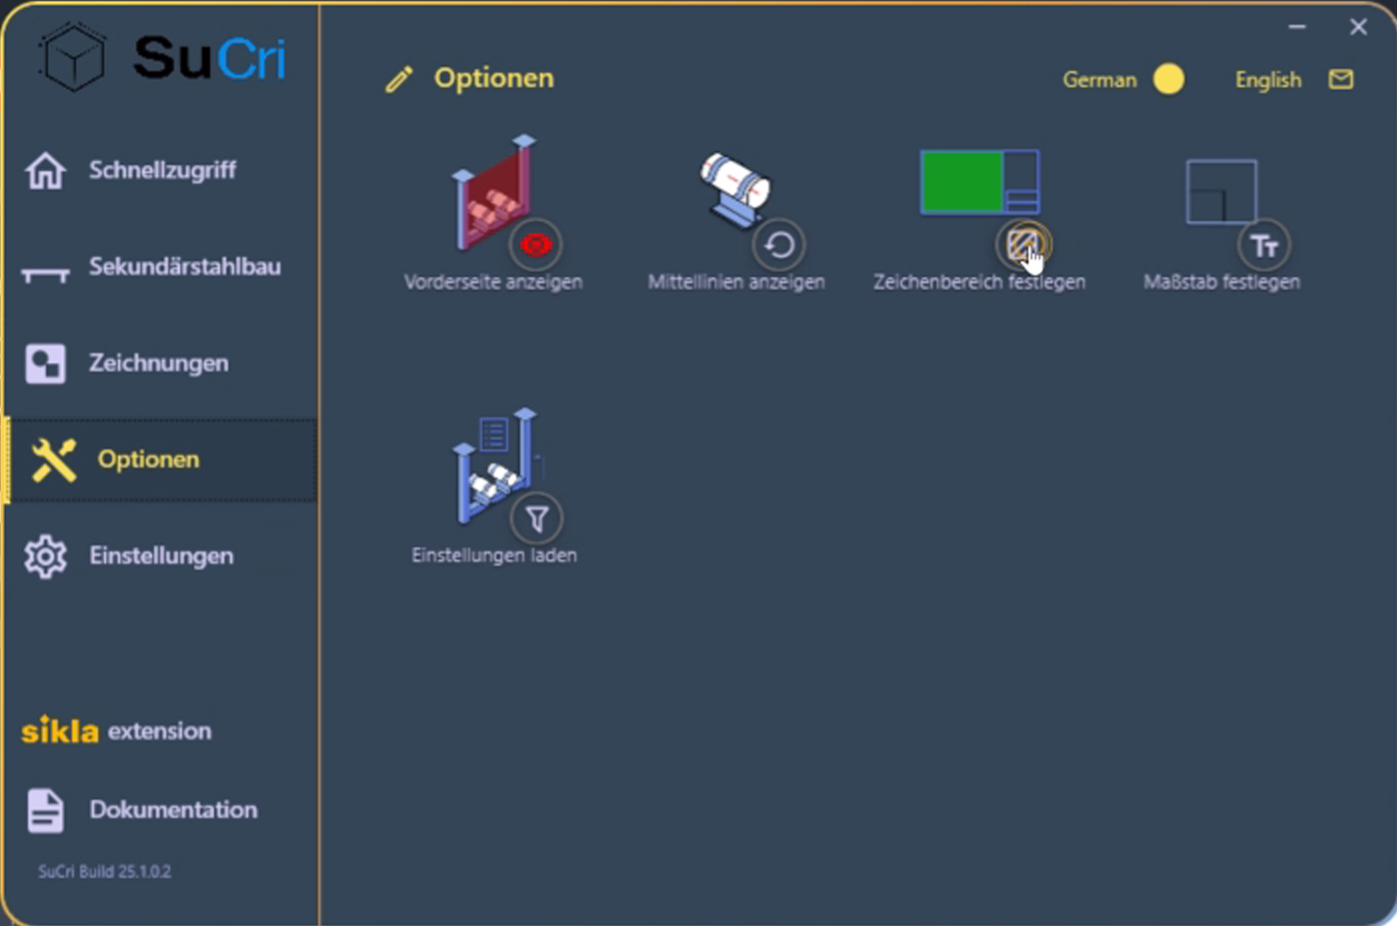
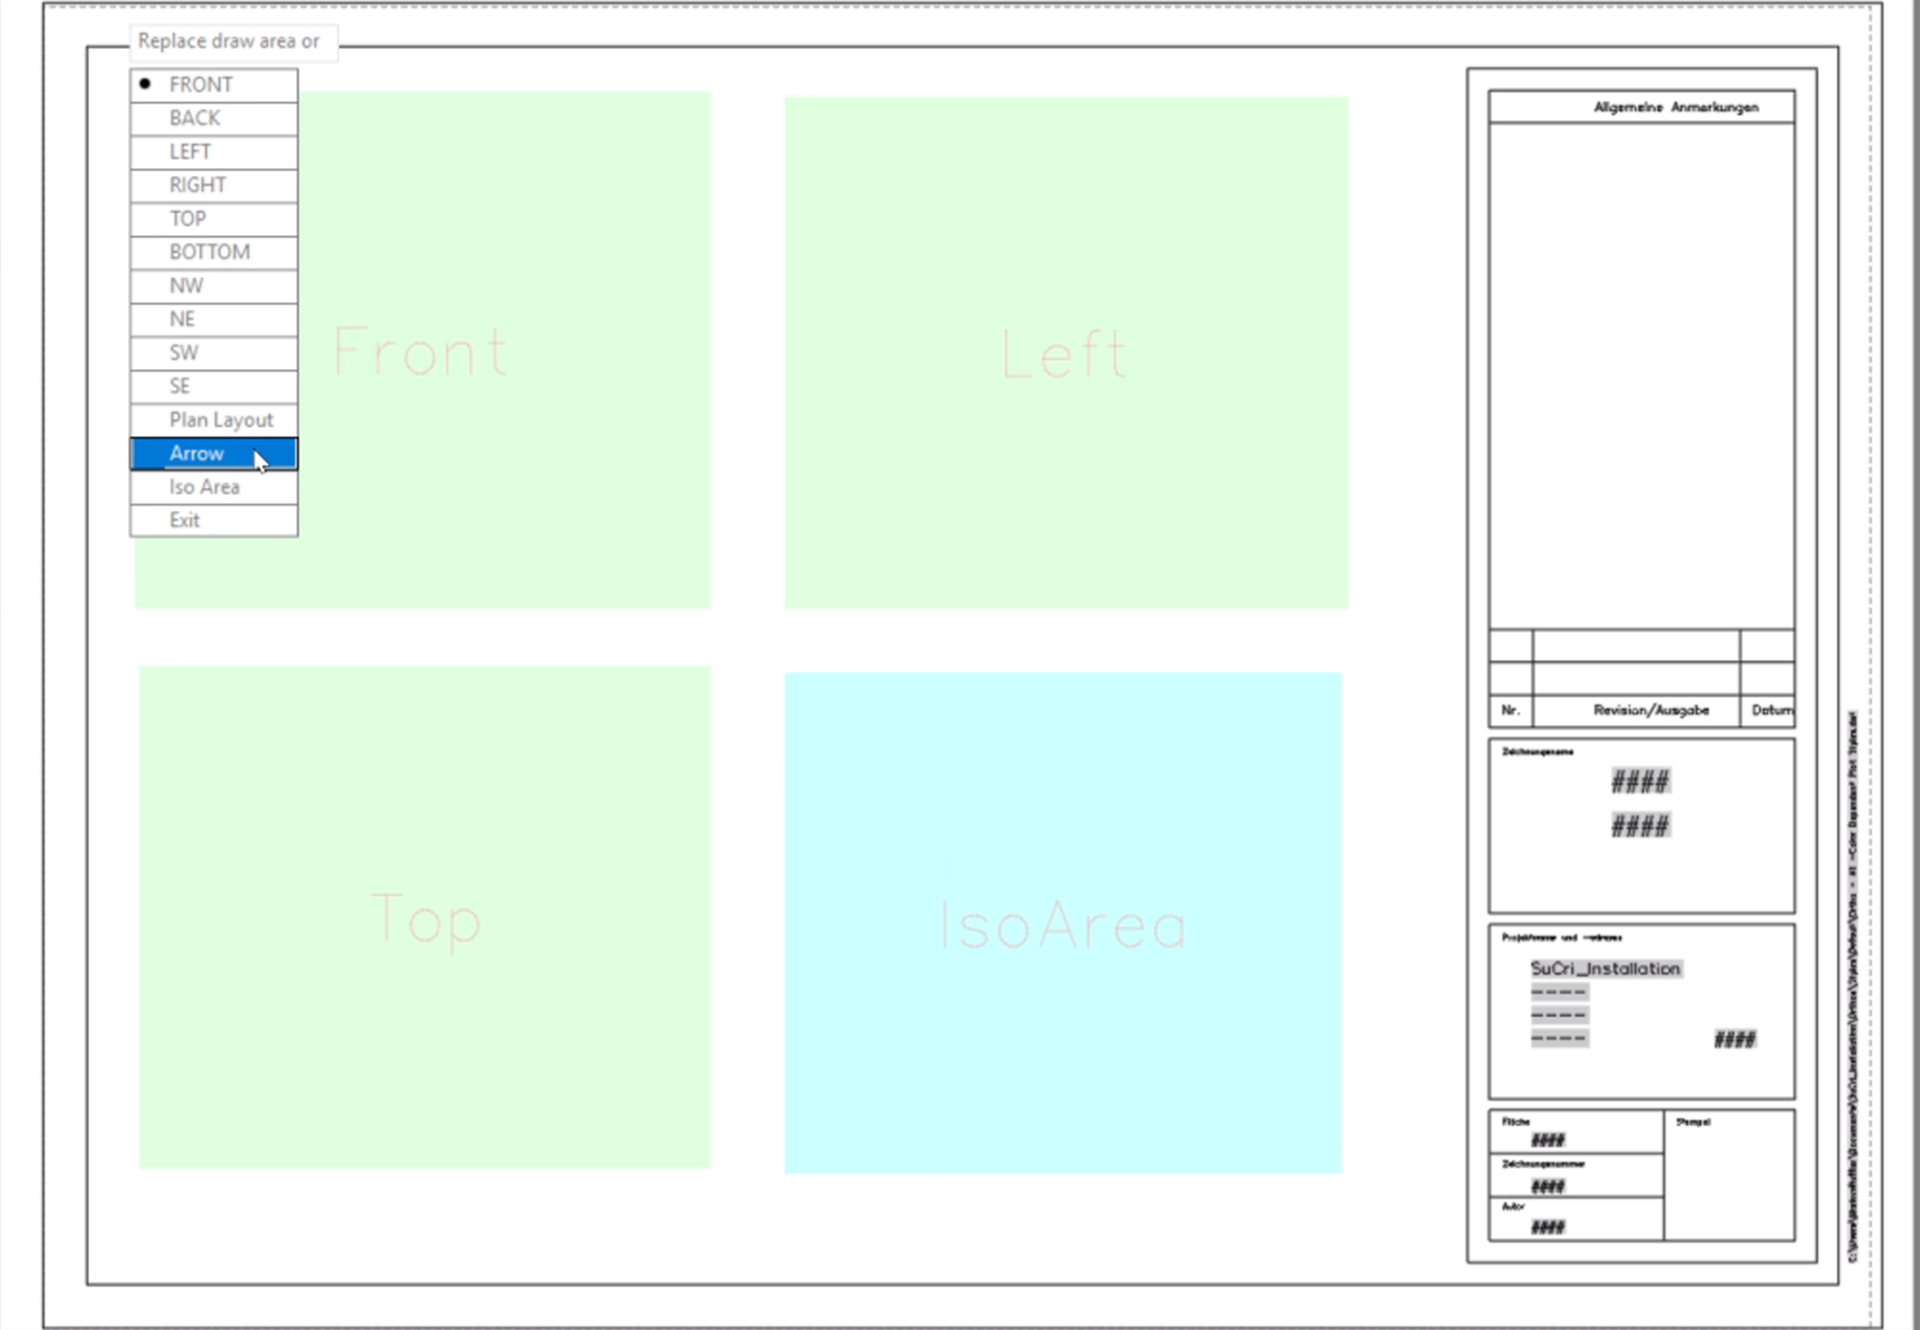
Setting up the ortho template
Set up your ortho template. Use the demo videos as a guide and create the required views. This forms the important basis for all automatic derivations in Module 4.
-
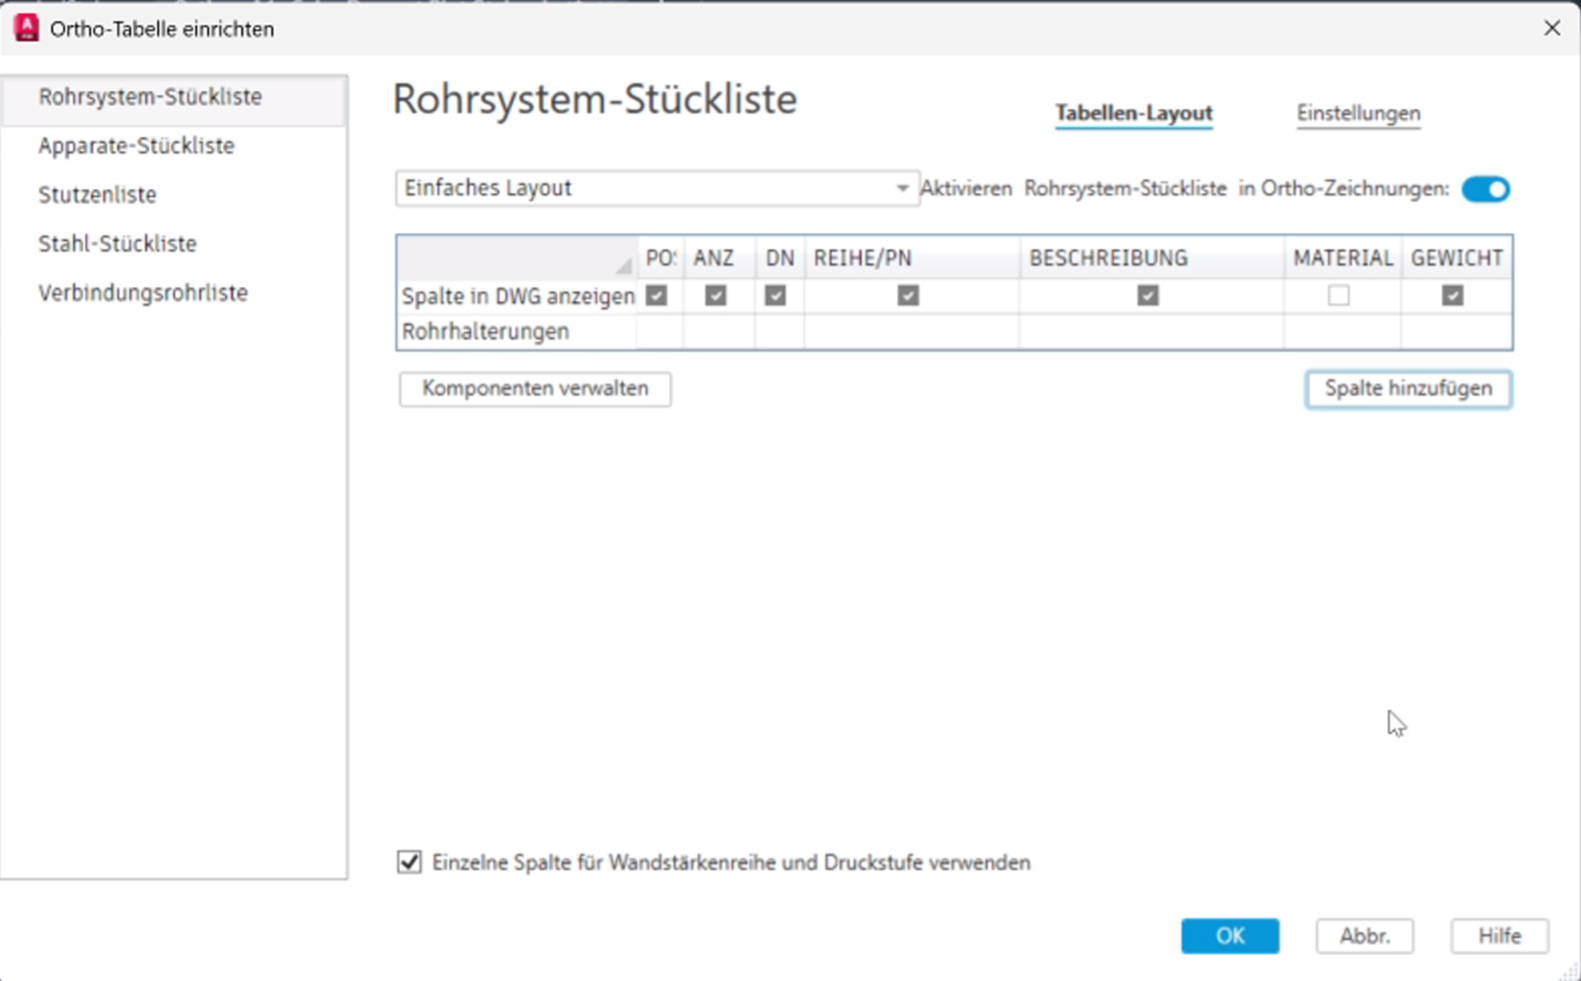
Adjusting the pipe system bill of materials
Open the settings of the pipe system bill of materials and click Manage components. Deactivate all components except pipe supports. In addition, add the Weight column.
-
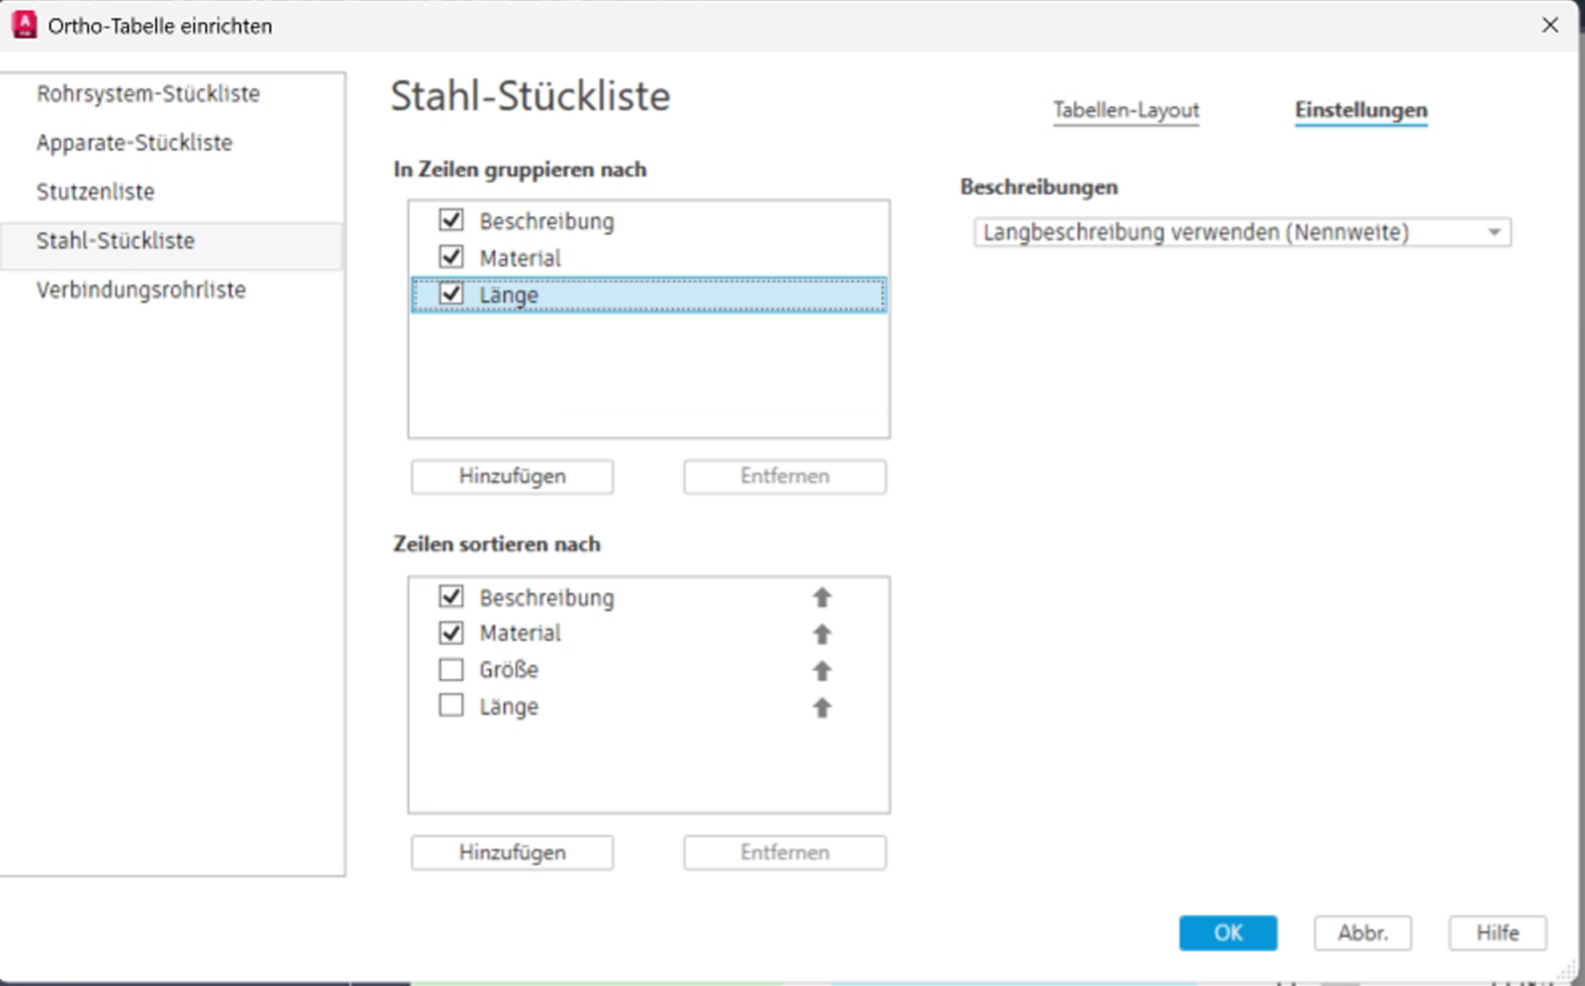
Adjusting the steel bill of materials
Open the component management of the steel bill of materials. Activate only beams and plates. Here too, add the Weight column.
In addition, set up the Length as a group filter. This prevents profiles of the same type with different lengths from being incorrectly combined into one row.
-
Validating the setup
Assign an assembly number via the secondary steelwork functions and generate a first drawing derivation. As a result, expect a correct representation of the components and a consistent bill of materials.
Important notes
- Template path: The standard ortho template of a Plant 3D project can be found under the path
Orthos\Styles\Defaultas the fileOrtho - A1 - Color Dependent Plot Styles.dwt. - Best practice: Adapt this template individually to your company-internal standards for layer structures and layouts.
- Precision: Without activating the Length group filter in the bill of materials settings, a correct quantity and material determination cannot be technically guaranteed.
Troubleshooting
- Missing weight information: Check whether the Weight column has been correctly added in the bill of materials settings of the respective template.
- Components are not displayed: Make sure that the correct check marks (e.g. for beams or pipe supports) are set in the component management.